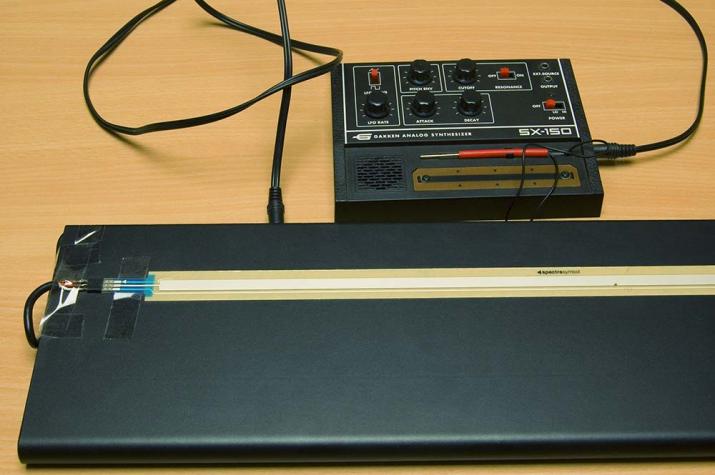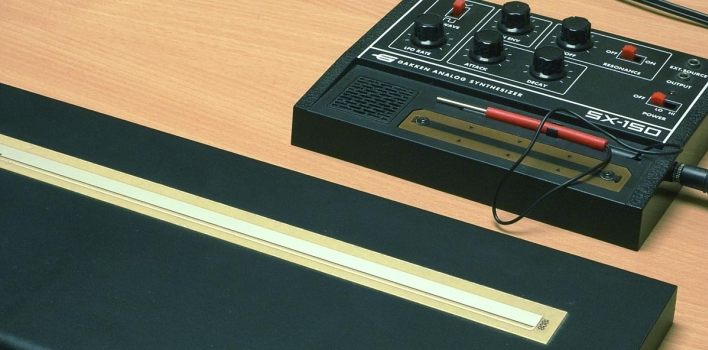
In another post I wrote about the Gakken SX-150, now I explain how I created a “giant” controller (50cm) for this mini synthesizer, but in order to make this change I had to first understand a little more about the original control system.
The strip on the Gakken SX-150 is simply a resistor of about 75 Kilohom. Looking at the schematics I found on the Matrixsynth blog I could think for an alternative to the control system of Gakken.
I used a sensor called Spectrasymbol Softpot parallel to the standard sensor.
This sensor is available in various lengths, I bought the 50cm long (the maximum available).
I found this sensor on RobotItaly at the price of 30 Euros.
The sensor has a sticker on the back so it can easily be attached to the support of your choice. I chose a small wooden shelf about 60 cm wide.
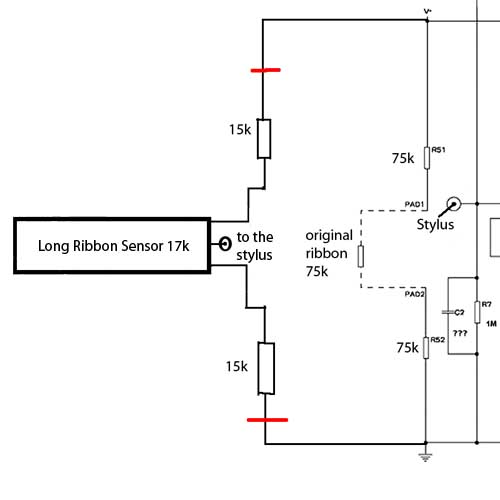
The softpot 50cm sensor is a resistor about 20 kilohom (check yours: my sensor was 17Khom) and has three terminals: the outer two (A and C) are the extremes of the resistor, and the central terminal (B) is a bit like the finger that passes over the sensor. I try to explain better with a drawing.

The position of B on the resistor changes depending on the point of the sensor which we push with our finger. It’s like a potentiometer. The only difference with the original sx-150 sensor is that the resistor is about 20 Khom instead of 75.
In the original circuit the controller is in series with two resistors of 75khom, so to use our softpot sensor of about 20 Khom we need to put two 20kh resistors in series. Since my sensor was about 17khom I used two 15khom resistors. To experiment you could try to change these values.
In this drawing you can see on the right side the original circuit, and on the left side the part I added.
I simply plugged my Softpot sensor and the two resistors in parallel to the original sensor and resistors.
NOTE: My electronics knowledge is minimal and so I have no idea if the change I made to the Gakken SX-150 can be harmful or dangerous. Surely, with the sensor inserted there is a greater power consumption.
So the ingredients used were:
1 50cm softpot sensor
2 15kh resistors
1 wooden board
2 female audio jacks
A cable with two stereo male audio jack
1 3-terminal connector for printed circuit
electric cables
These are the steps:
1) I have attached the sensor to the wooden board.

2) I soldered 3 electric wires to a connector for printed circuit and then I connected the sensor. I blocked the conector with tape.
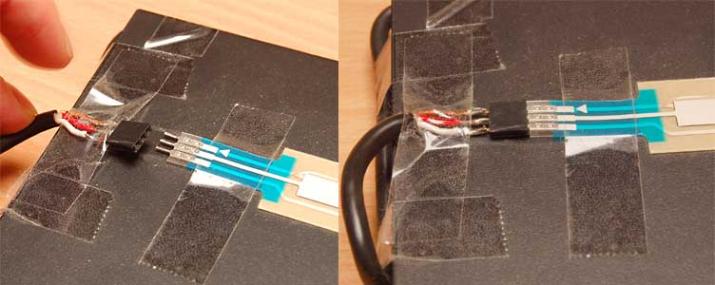
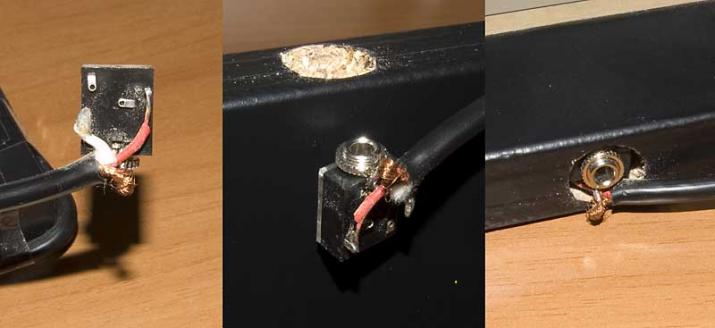
3) I soldered the 3 wires on the other side to a female stereo jack. I stuck the jack into a drilled hole on the back of the wooden board.
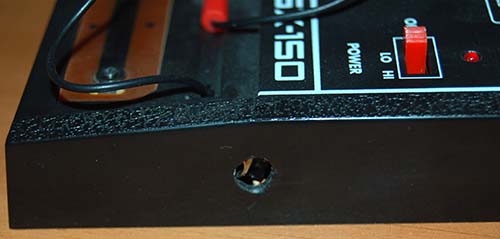
4) I drilled a hole on the side of the Gakken sx-150 cabinet.
5) I scraped a bit of protective varnish at point A, and I soldered an electrical wire. On the other end of the wire I soldered a 15khom resistor. I soldered the resistor to the jack.
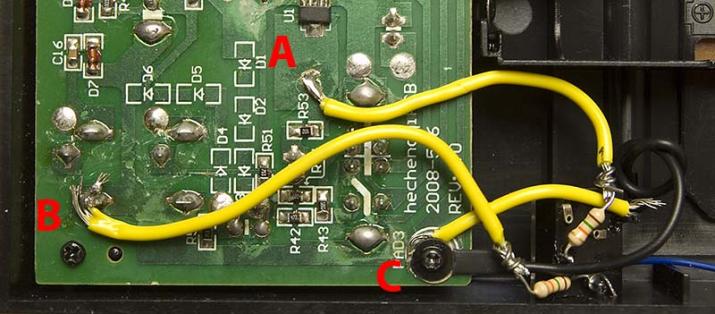
6) I soldered another wire at the B point. On the other end of the wire I soldered a 15khom resistor. I soldered the resistor to the jack.
7) I screwed another wire at the C point which is connected to the cable coming from the metal tip. I soldered the other end of the cable to the jack.
8) I screwed the female jack to the side hole.
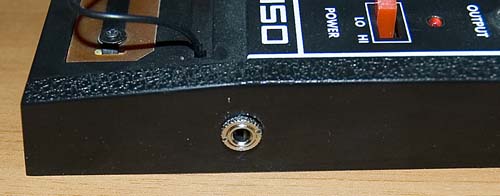
9) I connected the gakken sx-150 with the new sensor.
Con i valori che ho inserito io mi sembra che il range di suoni ottenuto sia più limitato per quanto riguarda i bassi e leggermente incrementato sugli alti.
Ho postato un video in cui suono (malissimo) il tema di Star Trek! E’ tutto fuori tono ma volevo mostrare l’utilizzo del gakken sx-150 accoppiato al sensore. La cosa più divertente è la possibilità di avere un effetto vibrato come se fosse una corda di chitarra.

